


Quoting one of e-books
How to Install Ubuntu in VMware:
Step 1 – Install VMware:
I am going to use Ubuntu, a Linux distribution that has an outstanding interface and has windows-like
wizards to get the most things done. To install Ubuntu on a Windows machine you have to run a socalled
virtual box in which Ubuntu can run as a kind of machine inside your machine.
To accomplish this, I choose to use VMware player or VMware server, a free software package which
can run virtual machines on your PC.
You can download VMware player/server from their website.
Step 2 – Download the Ubuntu ISO:
Ubuntu comes in different flavors and every 2 year they launch a so called LTS version that means
that this version will be supported for at least 4 years. I downloaded Ubuntu LTS 10.04 (Long Term
Support) from the Ubuntu website. Please be sure your machine supports 64bit when selecting that
flavor.
Step 3 - Install Ubuntu in VMware player:
Next step is to install Ubuntu on the VMware player.
Note: I do not like prefabricated Ubuntu virtual machines because you never know if someone has
been fooling around with it or what is exactly installed on that machine.
On the net there are different videos which show you how to install Ubuntu on VMware.
Remember that most of the OS software is collaborating so in this case VMware player recognizes
that you want to install Ubuntu and starts a wizard.

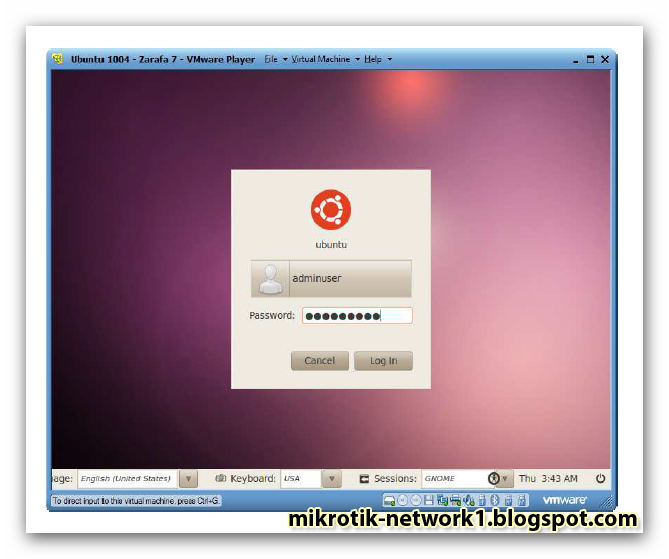
As a user and pass I choose adminuser / adminuser. You can choose whatever name you want, but it
is good to have at least one extra administrator account which you can use to install and administrate
your machine.
Note:
Do not use usernames like [admin] or [root] since these are reserved words and you will end
up reinstalling Ubuntu.
Note:
Ubuntu is case sensitive. It is common sense to use lower cases for usernames and mixed
case for passwords. In this case simply choose the same (‘very not safe’) password as the
username.

Name your virtual machine and set the installation path to the location you prefer.

Specify the amount of disk space you want to use for your Virtual Machine. Make sure you allocate
enough space. I selected 20GB of space.
Next

Next to that, customize the hardware for your needs.

At least take 2GB of memory so your Zarafa and MySQL instances will have enough memory to
perform in a proper way.

For better graphic performance, turn the 3D acceleration on.

Finally a decision has to be made what kind of network IP address is given to this virtual machine.
By default NAT is selected. NAT means that VMWare player will create a network subdomain in which
this VM (Virtual Machine) will reside. VMWare player will translate (NAT) all traffic to this VM from
the internet. Although NAT seems like a good idea since it will use the hosts IP address for traffic, it is
better to bridge the VM to get a ‘real’ IP address from the domain controller (or DHCP server) of your
network.

With NAT this machine would get the IP address from VMWare player (192.168.237.130) and while
bridged the VM will receive an IP address from the networks DHCP server (192.168.178.20). The host,
the machines on which VMWare is installed, also got an IP address from the DHCP server
(192.168.178.17).
Watch:

Make sure you end up with at least these changed settings in relation of the default settings:
Processors = 2 cores
Mem = 2 GB
HD = 20 GB
3D Accelerator = On
Network = Bridged
After the installation finishes (this can take up to half an hour) and the login screen pops up, please login with the following credentials:
User : adminuser
Pass : adminuser
See you in the next lesson
Mr.Mohamed samir™


